RAD.texRead-only preview
% Written by Bibby AI
% Unofficial LaTeX template for the "Requirements Analysis Document",
% part of the project of the course Essentials of Applied Software Engineering
% of the Technical University of Munich, on edge.edx.org.
% It tries to imitate the official template for Microsoft Word.
%
% The images are property of the Technical University of Munich.
%
% The LaTeX code can be found on https://github.com/MakisH/EASE_templates.
% LaTeX document created by MakisH.

\documentclass[a4paper,12pt]{article}

% Process graphics.
\usepackage{graphicx}
% Create clickable links in the pdf
\usepackage[bookmarks=true,pdfborder={0 0 0}]{hyperref}
% Format links
\usepackage{url}
% Keep floats in their sections
\usepackage[section]{placeins}
% List code in the lstlisting environment
\usepackage{listings}
% Options for the lstlisting environment
\lstset{numbers=left, showspaces=false, showstringspaces=false, frame=single}
% Format tables with some special features (e.g. auto-width columns)
% \usepackage{tabulary}

%%%%% LEGACY LaTeX (pdflatex) - USE XeLaTeX IF AVAILABLE (SEE BELOW) %%%%%%%%%%
  % Set the font to sans-serif
  \renewcommand{\familydefault}{\sfdefault}
%%%%% ENABLE IF XeLaTeX or LuaLaTeX IS AVAILABLE FOR BEST RESULTS %%%%%%%%%%%%%
  % Enables doing changes in the font.
  % \usepackage{fontspec}
  % Set the font. [Requires fontspec] If you don't have CMU Bright you can use another one, e.g. Arial.
  % \setmainfont[Mapping=tex-text]{CMU Bright}
%%%%%%%%%%%%%%%%%%%%%%%%%%%%%%%%%%%%%%%%%%%%%%%%%%%%%%%%%%%%%%%%%%%%%%%%%%%%%%%

% Enables setting cutom colors
\usepackage{xcolor}
\usepackage{sectsty}
\definecolor{blue1}{RGB}{52, 90, 138}
\definecolor{blue2}{RGB}{79, 129, 189}
\sectionfont{\color{blue1}}
\subsectionfont{\color{blue2}}
\subsubsectionfont{\color{blue2}}
% Set the color of the Table of Contents header to black
\renewcommand{\contentsname}{\textcolor{black}{Table of Contents}}
% Set the title formatting
\makeatletter
\renewcommand{\maketitle}{\bgroup\setlength{\parindent}{0pt}
\begin{flushleft}
  {\Huge\textbf{\@title}}
\end{flushleft}\egroup
}
\makeatother
% Enable adding a wallpaper on the page (logos)
\usepackage{wallpaper}
% Typeset keystrokes
% \usepackage{keystroke}

%%%%%%%%%%%%%%%%%%%%%%%%%%%%%%%%%%%%%%%%%%%%%%%%%%%%%%%%%%%%%%%%%%%%%%%%%%%%%%%%
\begin{document}

  % Set and insert the title.
 \title{Requirements Analysis Document}
 \maketitle
 % Insert the TUM and Chair logos.
 \LLCornerWallPaper{0.3}{cosmetics/Lehrstuhl.png}
 \LRCornerWallPaper{0.3}{cosmetics/tum.png}

 \section*{\color{black}Purpose}

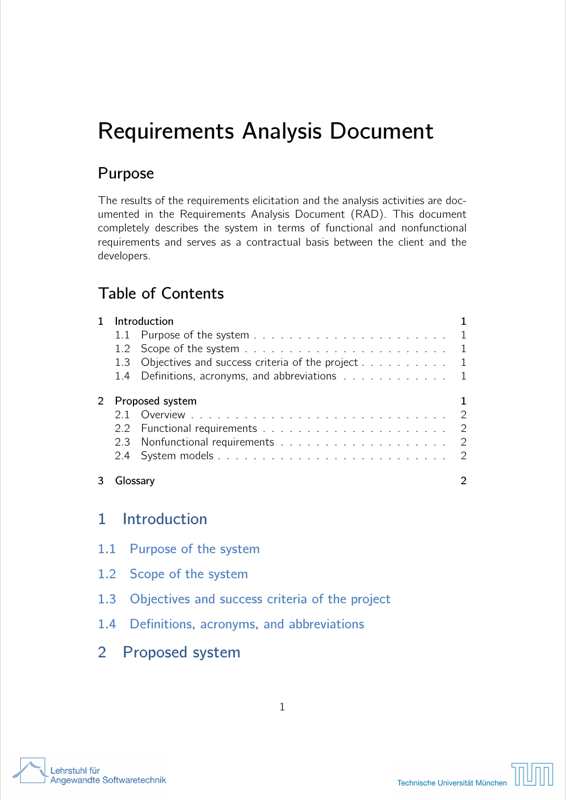
 The results of the requirements elicitation and the analysis activities are documented in the Requirements Analysis Document (RAD). This document completely describes the system in terms of functional and nonfunctional requirements and serves as a contractual basis between the client and the developers.

 % Set the Table of Contents depth and inert the ToC.
 \setcounter{tocdepth}{2}
 \tableofcontents

 \section{Introduction}
 % Content: The Introduction provides a brief overview of the function of the system and the reasons for its development, its scope, and references to the development context. The introduction also includes the objectives and success criteria of the project.

 \subsection{Purpose of the system}

 \subsection{Scope of the system}

 \subsection{Objectives and success criteria of the project}

 \subsection{Definitions, acronyms, and abbreviations}


 \section{Proposed system}
 % This section documents the requirements elicitation and the analysis model of the new system.

 \subsection{Overview}
 % The overview presents a functional overview of the system.

 \subsection{Functional requirements}
 % Functional requirements describe the high-level functionality of the system. This section list all functional requirements and additionally presents the dependencies between them.

 \subsection{Nonfunctional requirements}
 % Nonfunctional requirements describe user-level requirements that are not directly related to functionality. This includes usability, reliability, performance, supportability, implementation, interface, operational, packaging, and legal requirements. The section list all these non-functional requirements and additionally presents the dependencies between them.

 \subsection{System models}
 % The System models include scenarios, use cases, and the analysis object model for the system. This section should contain the complete functional specification, including mock-ups, paper-based prototypes or storyboards illustrating the user interface of the system and navigational paths representing the sequence of screens.

 \subsubsection{Scenarios}
% NOTE: You may find a table snippet at the end of this document.

 \subsubsection{Use case model}
% NOTE: You may find a figure snippet at the end of this document.

 \subsubsection{Analysis object model}
% NOTE: You may find a figure snippet at the end of this document.

 \subsubsection{User interface mockups}
% NOTE: You may find a figure snippet at the end of this document.


 \section{Glossary}
 % A glossary of important terms used in the project and in the system model ensures consistency in the specification and a common understanding of terms used by the client.
% NOTE: You may find a description list snippet at the end of this document.


 % Written by Bibby AI
\end{document}
 %%%%%%%%%%%%%%%%%%%%%%%%%%%%%%%%%%%%%%%%%%%%%%%%%%%%%%%%%%%%%%%%%%%%%%%%%%%%%%%
 % Useful snippets

 % Description list
 % \begin{description}
 %   \item[myTermA] myTermA description.
 %   \item[myTermB] myTermB description.
 % \end{description}

% Scenarios table (include tabulary package)
 % \begin{table}
 %   \centering
 %   \begin{tabulary}{\linewidth}{|l|L|}
 %     \hline
 %     Scenario name & My scenario name\\
 %     \hline
 %     Participating actors & Initiated by Alice, student\\
 %     \hline
 %     Flow of events & 1. Lorem.\\
 %     & 2. Ipsum.\\
 %     & 3. Dolor.\\
 %     \hline
 %   \end{tabulary}
 %   \caption{Scenario 1.}
 %   \label{tab:scenario1}
 % \end{table}

% Figures
 % \begin{figure}
 %     \centering
 %     \includegraphics[width=\textwidth]{figures/myFigure}
 %     \caption{My caption.}
 %     \label{fig:myFigure}
 % \end{figure}
Preview

PDF Preview
Create an account to compile and preview